How to: Get fake dressed.

You know what I’m talking about. You need bread/milk/wine badly. No time or desire to dress properly. That takes effort. And anyway you want to shower nicely later when you can, so what’s the point getting dressed now? It’s early, but not quite early enough to risk pyjamas for the mission. Or maybe it’s actually late and you’re already undressed for the day and no way are you putting your bra back on. No. Fucking. Way. So what do you do?

You get fake dressed.

This is a lot easier in winter. A good coat can make pretend dressing a breeze. However, summer time yields the footwear advantage: thongs and other slip-ons. You get extra points for these because you don’t have to bend to put them on. It’s all about minimal effort for maximum effect. And the effect we are after is: “nothing to see here”.
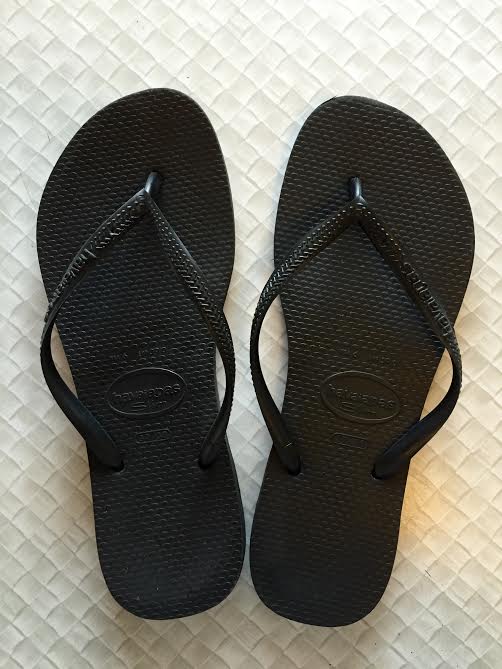
Essential to the fake-dressing kit.

This morning I got faked dressed to drop Glenn off at work, with the idea that afterwards G and I could do some super quick Lego shopping. The Lego shopping would enable me to have a lovely proper shower later as G would then stop driving me crazy asking me about the desired Lego item and be blissfully preoccupied for a time while he put it together.

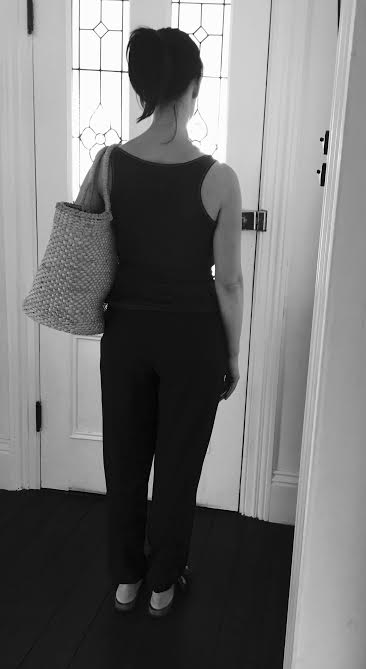
So this was the fake outfit: hair left as is but could possibly pass as purposely tousled ‘bed hair’ if you didn’t look too closely and see that it was completely flat on one side from being laid on and ever so slightly dandruffy. Hooded and (crucially) zipped coat covered no bra no undies ensemble of very old and holey (not holy. Holey) singlet and leggings that I slept in. No socks. Resisted the delicious lure of Uggs and slipped feet into elastic sided ankle boots. This feels very weird with no socks. That’s ok. If you do this, you’re passable. You can now leave the house and get the chocolate, I mean milk, without being actually dressed. Carry a large bag. It looks more convincing. Walk fast.

Admittedly, fake dressing is made easier for me by the fact that in winter I tend to sleep in tank tops and bad track pants. Like many people, I change into this outfit as soon as I get home. If it’s warmish I can just add a hoodie and thongs to be fake dressed. And then maybe someone might be fooled into thinking my messy/greasy hair is due to a sweaty workout. And that I’m fresh out of a hard core Bikram yoga class and not just fresh out of Kit Kats and making the dash for more.

unnamed (20)

I told my friend Rosebud that I was writing about this and she said that fake dressing for her is leaving the house in the track pants she slept in with the addition of “blush and mascara and a lovely scarf”. Blush? Her theory is that people will think that if she’s gone to the trouble of putting blusher on then surely she has applied the same sort of effort to the rest of her person. Admirable logic. I imagine people scanning her, Terminator-style, up and down when she’s in line at the checkout. Their gaze comes to rest on the blusher. Conclusion: this person is fully dressed. Move along.

We agreed that you can’t get fake dressed in patterned pyjamas.  That’s not fake dressing. That’s just going out in your pyjamas. Unless you actually rolled the pyjamas up above your knees and concealed them under a thick dress or coat. But that’s a bit too much effort which is completely against the rules of fake dressing. It’s not done. It’s also actually just a tad crazy. Which we’re clearly not.
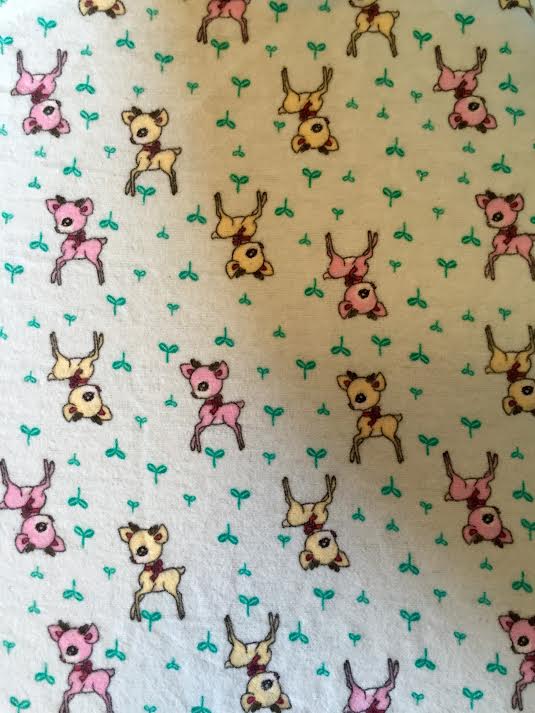
You can't fake dress in pyjamas. The deer would give you away immediately.
You can’t fake dress in pyjamas. The deer would give you away immediately.


How to: Make a canvas storage bag

w_bag_toys

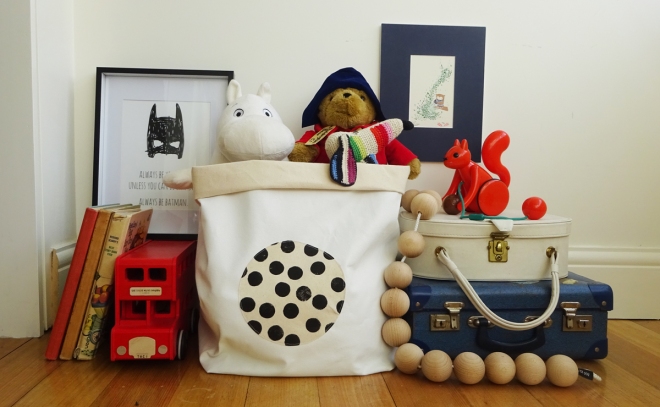
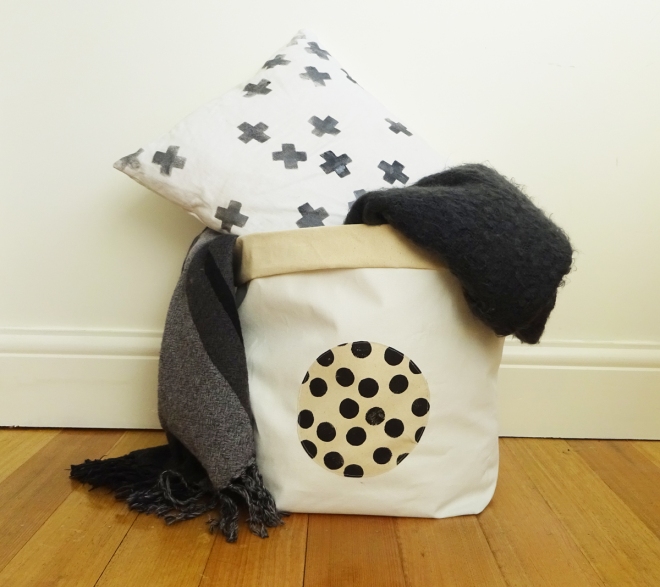
Mess glorious mess. I’d like to pretend our home is as neat and tidy as our Instagram photos, but we all know that’s a big fat lie. We do however have the amount of stuff shown in this picture and then some. And then some more. This canvas storage bag helps keep it in check and looks pretty good while it’s at it.

w_bag

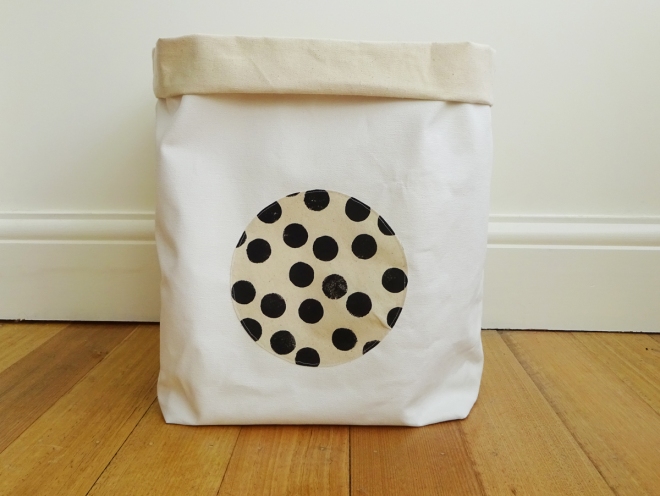
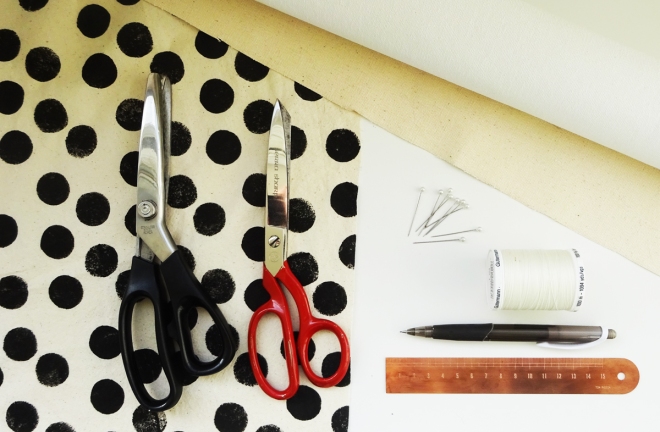
To make this approximately 32.5 cm square x 50cm high storage bag, you will need:

Primed artist canvas
Fabric for appliqué
Scissors
Pinking shears
Pins
Pencil
Sewing machine
Matching thread
Tape measure or ruler
A 15cm bowl or other round object to use as a template

w_bag_flat lay

Measure out and cut a long rectangle 130cm long by 50cm high and a 32.5 by 32.5cm square.

Trace a circle using the bowl or other template on your appliqué fabric and carefully cut out.

Measure along the rectangle about 49cm and 20cm high and make a small pencil mark. This should be roughly the centre of what will be the front of the bag. Pin your circle to the canvas, adjusting the alignment if you need to and sew.

Pin the bottom edge of the rectangle along the edges of square until it meets itself. Pin the ends of the rectangle together.

Stitch down along the ends of the rectangle down to the square to form the side seam, then stitch along the bottom seam.

Trim the side seam with the pinking shears before turning the bag right side out. Roll over the top edge to form a double fold at your preferred height. Fill with stuff.

w_bag_rugs

How to: Make a Driftwood Christmas Garland

Festive christmas styling
Christmas styling

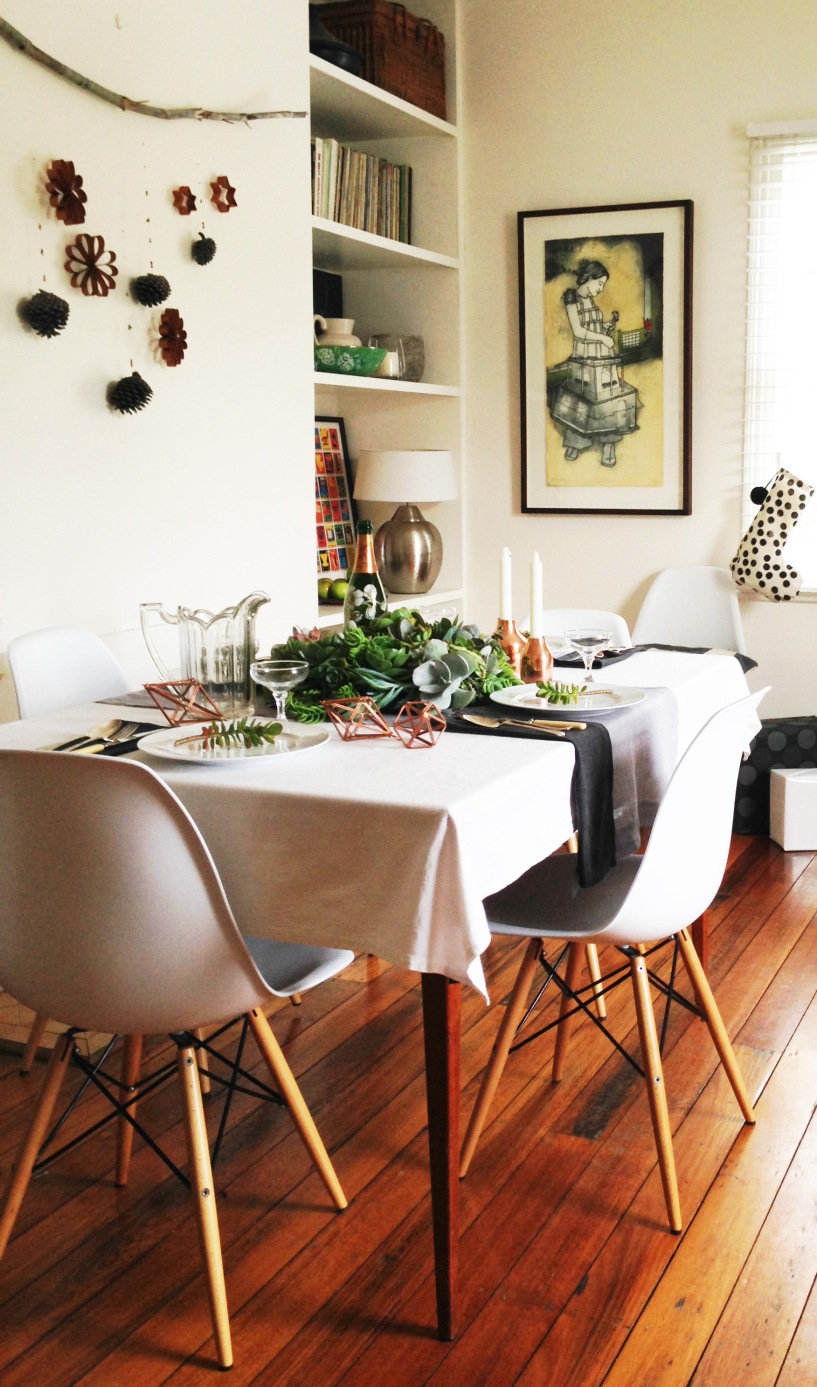
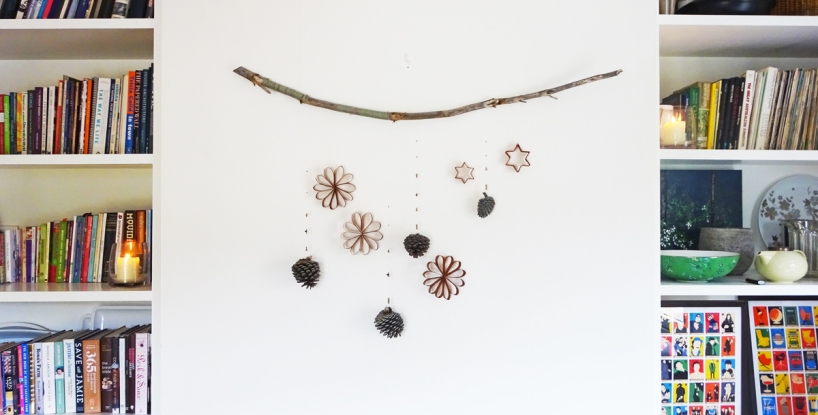
This Driftwood Christmas Garland is a simple, elegant decoration included in my Last Minute Christmas Styling ideas for TasMagazine. Here’s how to put together your own…

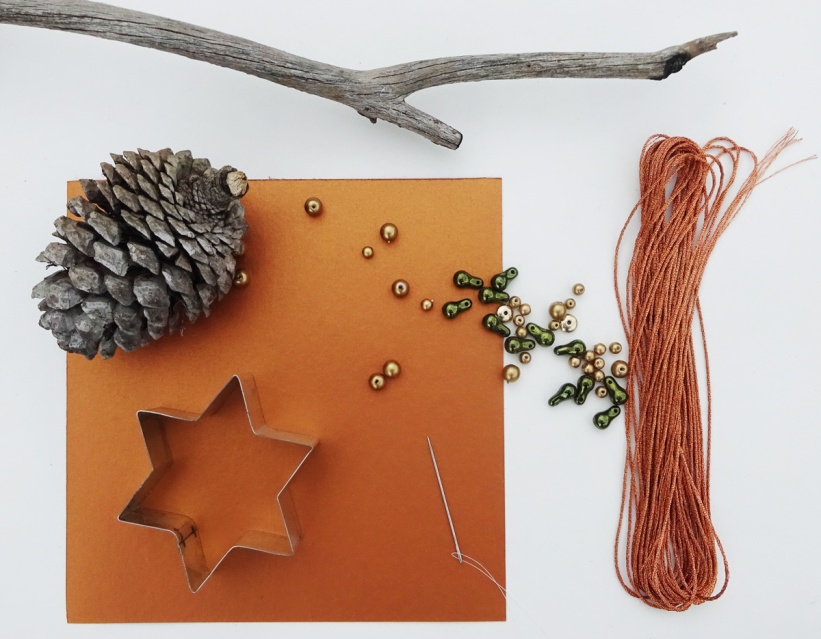
You’ll need:
2 Star shaped cookie cutters
2 bundles Copper embroidery thread
1 A3 sheet copper cardboard
Needle
Scissors
Ruler
Strong beading thread
4 Pine cones with stems (preferably sun bleached like your driftwood)
A mix of gold beads with matt finish and clear deep green shaped beads
A medium sized piece of driftwood
Sage coloured flat knitting thread

Using found objects and everyday cookie cutters

Cookie cutter decorations
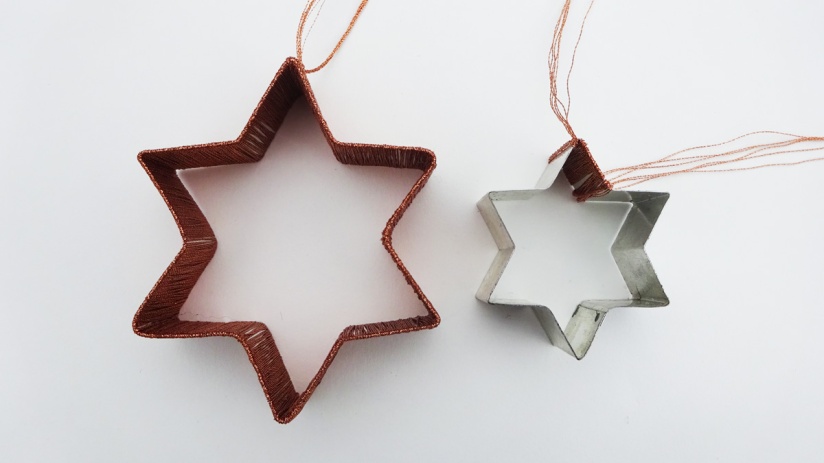
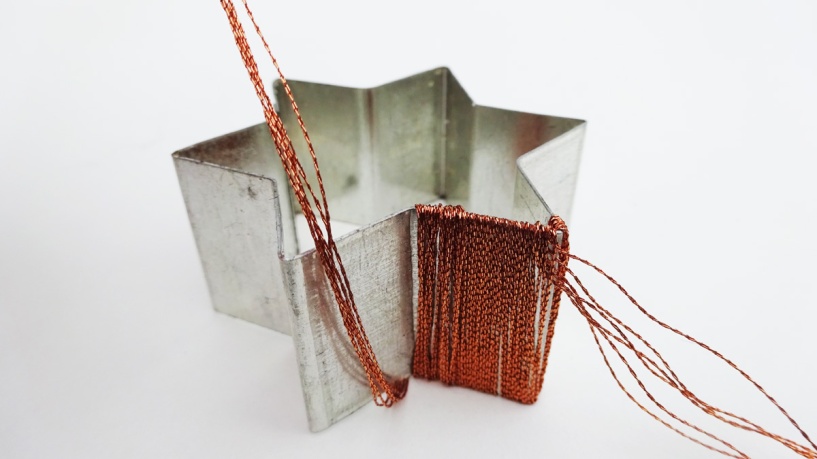
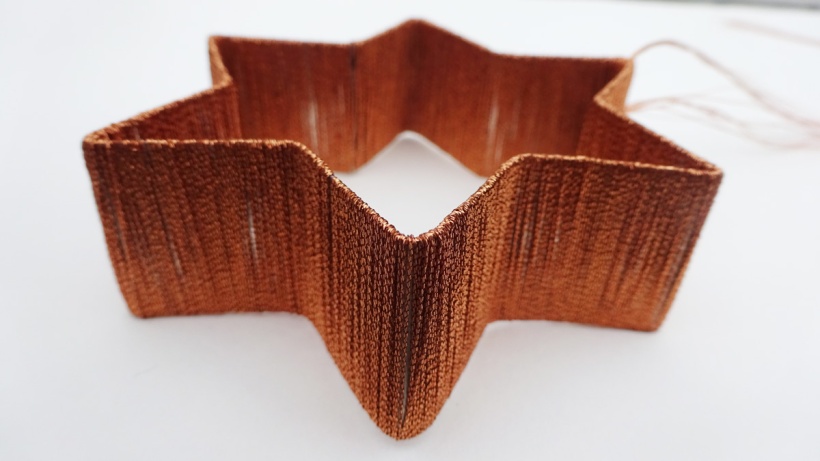
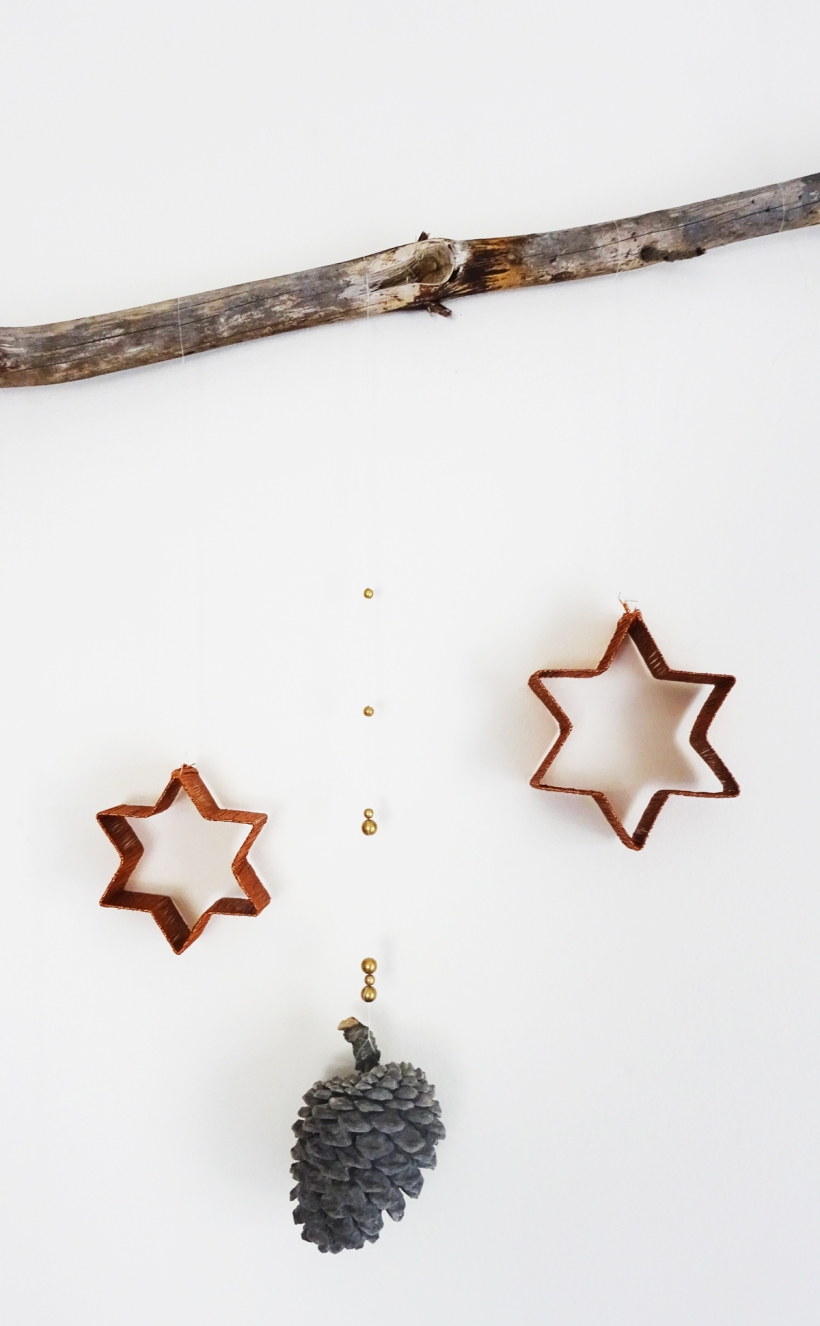
Wind the copper thread around the sides of the cookie cutter, twisting the thread as you go so it unwinds and lays flat against the cutter. Continue until the whole cutter is covered and tie off the thread. Tie beading thread in a length suitable for your hanging. Repeat for the second star.

Before and after
After and before
Wrap the thread around the cookie cutter
Completely wrap the cookie cutter until it has a new finish

Paper flowers
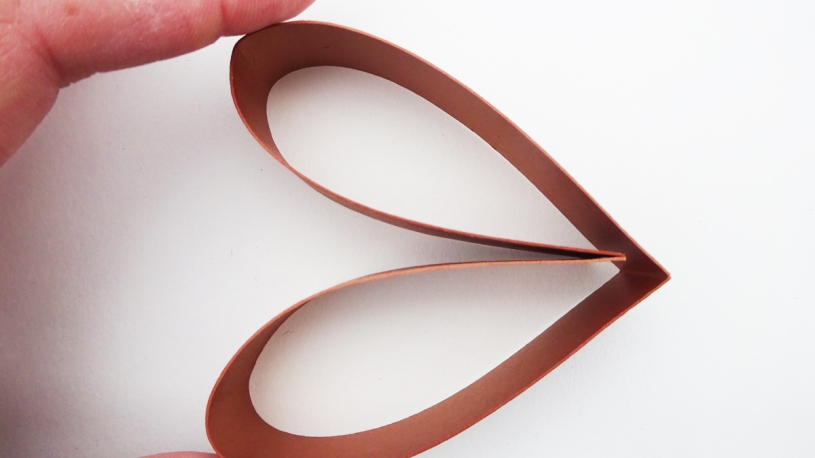
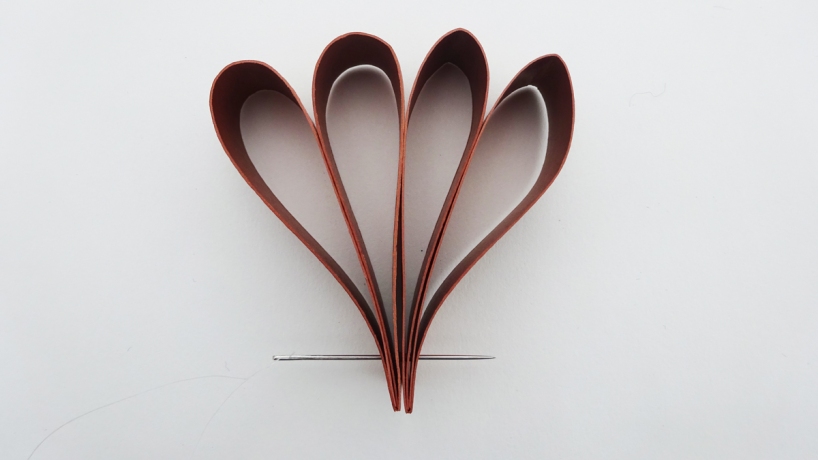
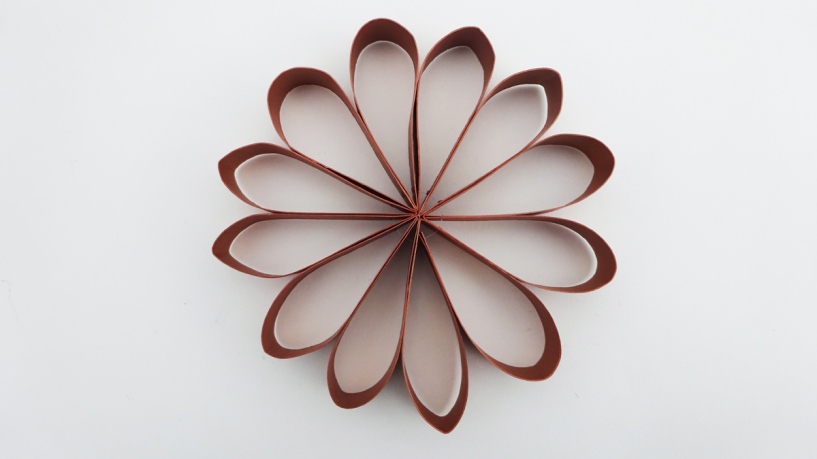
Cut the copper cardboard into strips 2cm x 29.7cm (the short length of an A3 sheet). Fold the ends of a strip to meet in the middle. Pierce through the 4 layers of card about a cm off the folded end and thread onto the needle. Keep adding the folded pieces of card onto the needle until you have 7 strips of card (all folded) and then pull the thread through and tie in a knot. Cut the thread off, leaving enough attached to the flower so you can hang it. Fan out the folds until you have a looped circle. Repeat for the rest of the paper strips, each flower will have 7 strips.

Fold the paper strip over
Thread the folds onto the needle
Fan the folded paper out into the flower shape

Pine cones
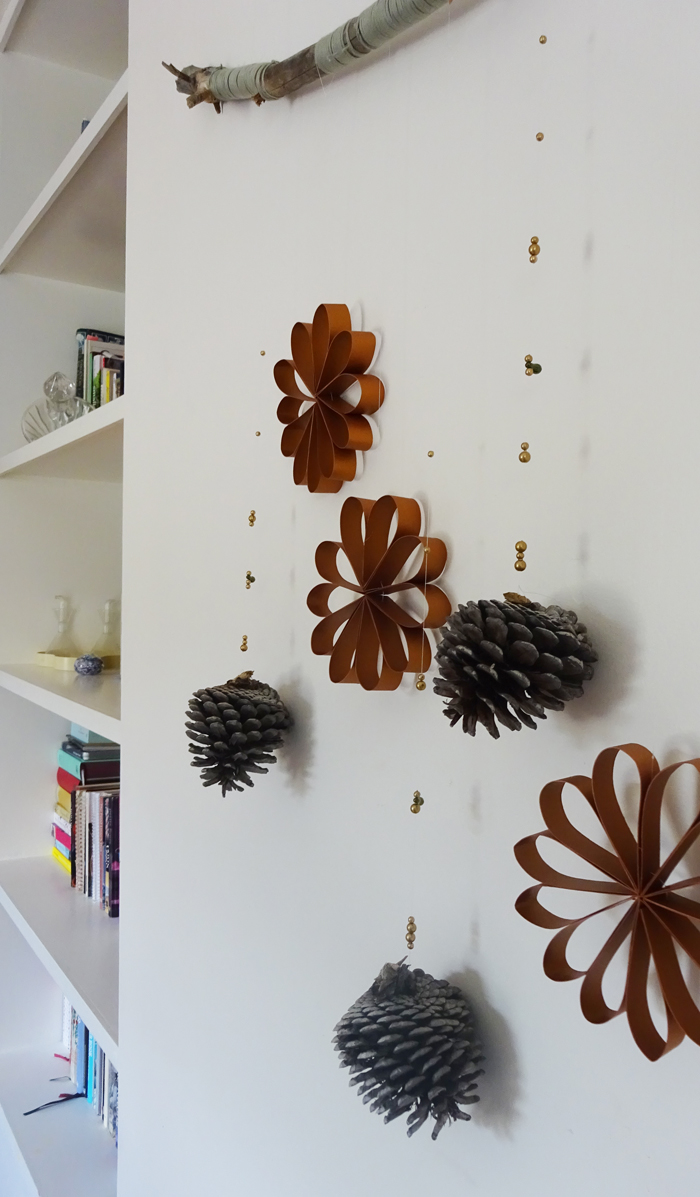
Cut a length of beading thread long enough to suit the hanging length. Tie off one end of the beading thread to the stem of the pine cone. Thread on the first bead and loop it back through to hold it in position down close the pine cone steam. I’ve chosen a semi-random pattern to place my bead in, so add the next beads as you like, remembering to loop back through the first bead after the gaps. Repeat for the remaining pine cones.

Driftwood
Wind the sage thread around sections of driftwood. Tie off each section so the knot is hidden to the back of the branch.

Assembly
You’ll need two hanging points to hang your garland from. Tie 2 lengths of beading thread to each end of your drift wood to suit the distance of the hanging points.

Lay your driftwood on the floor as though it would against the wall. Arrange the decorations in position then tie off to the driftwood, looping the beading thread so the decorations can be repositioned once hung up.

Carefully lift the driftwood with the decorations attached and tie off to your hanging points on the wall. Adjust the positioning of each decoration and when you’re happy with them, tie off and trim the excess thread.

Space the shapes out to suit your driftwood
Hange the shapes at different lengths
Hang the shapes at different lengths
w_driftwood stars pine cone
When you wish upon a star…